Second to actually kayaking, there are few things better than epic photos of whitewater. Whitewater Kayaking Photography is a skill that takes time and practice to master.
But you can quickly elevate your kayaking photography by making some small changes for some big results.
Now by no means do you need a proper camera to take epic photos.
I mean it helps
But you can still grab some bangers with a phone or an action cam.
Here are some tips on how to take better photos:
How to level up your Kayaking Photography
Composition
Composition is one of the biggest factors between an average kayaking photo and a great kayaking photo!
A good rule of thumb is the rule of thirds:

This is so simple but can make a massive difference in your kayaking photography.
So listen up…
When you are taking an image, imagine the image is split into thirds both horizontally and vertically.
Often you don’t have to imagine this as the viewfinder or the camera will put these on for you.
If it hasn’t you can often find it in the settings.
And if you never knew what these were for then now you do.
The intersections of these lines are the ‘power points’ of an image, the area that the eye is naturally drawn to.
Take advantage of this natural effect by placing the focal point of the image in the cross hairs of one of these ‘power points’.
It doesn’t need to be exact but have a go and see how your kayaking photography levels up.
You can also use these thirds to line up your horizon line, to give more balance to an image.
Try it… it will now feel weird if you don’t do it…
If you centre the focal point of the image in the centre of the frame, your image can feel static and boring.
Use the rule of thirds to add dynamism, balance and interest
But rules are made to be broken…

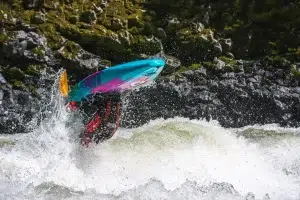
Get low
Have you ever paddled a sick section
Nailed every boof, flare and trick
and been totally stoked on your line
Excitedly rushed to watch the footage back and re-live your glory
Only for it to look like you’re paddling on small ripples…
Action cameras, when worn on the head make everything look flat.
This is because of the height of the footage (and the wide field of view giving a fish-eye effect when compressed)
It’s especially important for whitewater kayaking photography.
You can make things look bigger and better when you get down low.
Waves look bigger and drops look taller.
This adds a lot more drama to the photo
Try to shoot at the eye level of the kayaker, or from low to the water.

This is a great way to make smaller features look way more impressive than they may seem when you first look.
And it’s a great way to make freestyle look more impressive too, especially loops!
Find unusual perspectives:
You don’t want to stay low all of the time.
Experiment with your kayaking photography by playing with different angles and perspectives.
Try looking down, either from the bank or from a drone.
Looking down at waterfalls can show what the kayaker sees.
You can capture photos from behind, the side, in front…
The world is your oyster
Mix it up and you can find some great shots of the same rapid.
For example, check these two photos:

These are the same paddler, same photographer and same drop.

The only thing different is the angles used.
Next time you are lapping a rapid, try taking photos from multiple angles and see what you can come up with.
Capture the scene

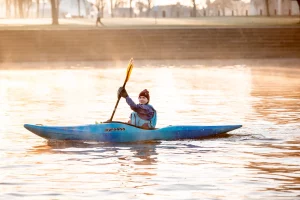
We are so lucky in our sport that kayaking can take us to some of the most amazing and beautiful locations.
Make the most of it and elevate your kayaking photography, by using a wide-angle lens to capture the surrounding as well as the action.
Use it to capture quiet moments on the river or add drama to some bigger rapids.
Add scale, by making the paddler look tiny, or the rapid massive.
You can even zoom in to make the background appear larger.
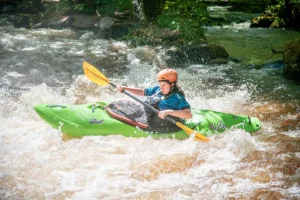
Get up close and personal

Another way to get some unique shots with whitewater kayaking photography is to really focus on the paddler.
By cropping in really close, you can single out the action.
Fill the frame with the paddler to capture the detail that would normally go unnoticed.
(and the funny expressions people make when on the water…)
This can be great for capturing freestyle, especially in whitewater parks where the scenery isn’t quite a wallpaper-worthy backdrop….
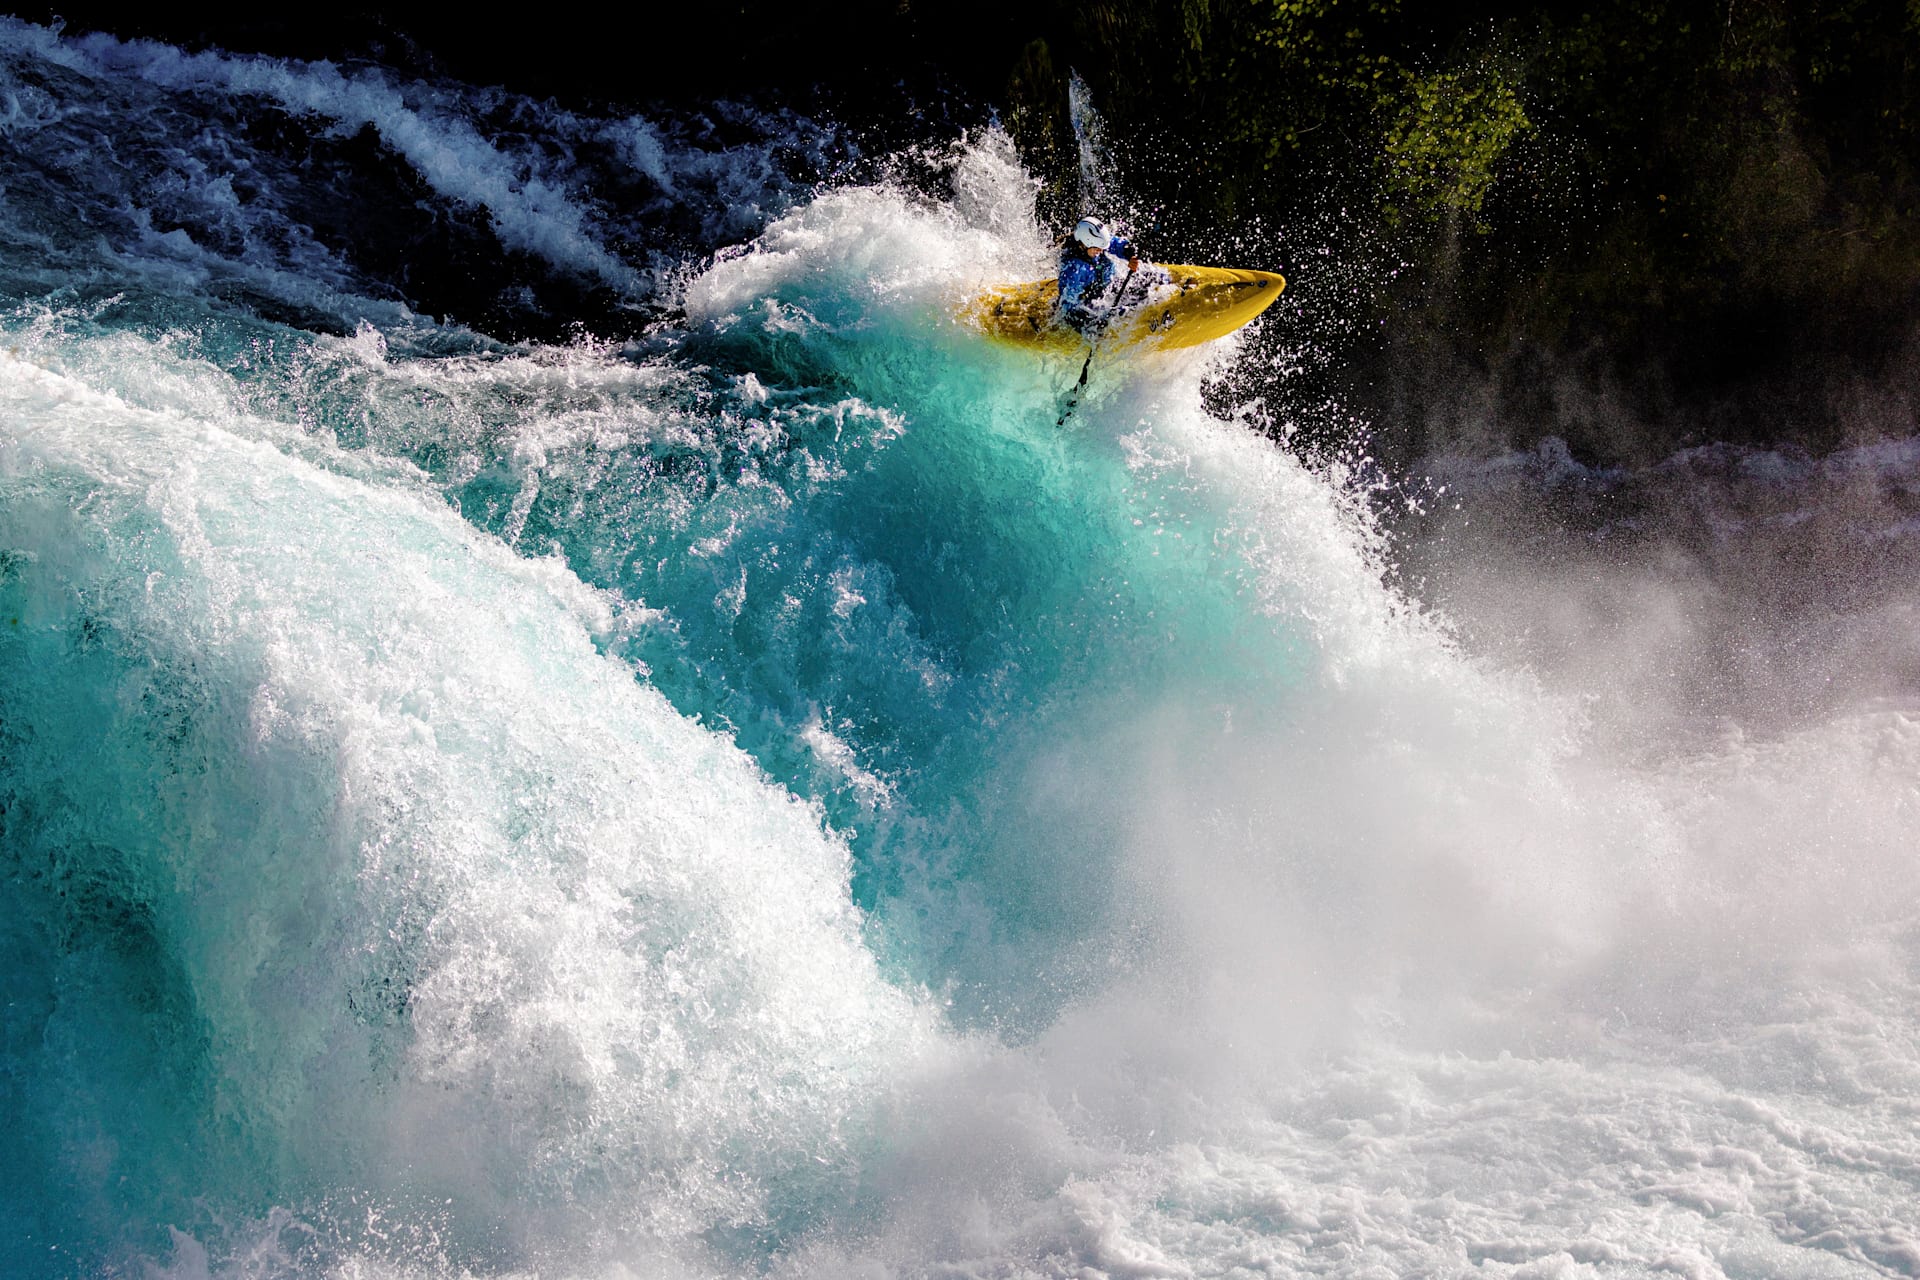
Use a Fast Shutter

P.S. If you want to learn to boof like this check out this article
Kayaking is a fast-paced sport.
Whitewater, in its nature, is moving at a pace of knots.
The kayaker is also moving on the water.
Everything in the scene is moving.
That’s why a fast shutter speed is so important for whitewater kayaking photography.
You want to make sure you capture the action in crisp detail
A blurry image is just disappointing
Unless you are going for motion blur…
But that’s for another time
Experiment with your shutter speed, but try keeping it over 1/250th of a second.
A common rule of thumb is at least that of the focal length of your camera.
This will stop camera shake in handheld shots.
But higher is often better.
The faster the shutter speed though, the less light can get into your camera, so you need to account for this with aperture, natural light and ISO.
Basically, if it’s light you can use a higher shutter speed.
Use Depth of field
Depth of field really allows you to add more impact to your Kayaking Photography.
You can achieve depth in a few ways:
- Adding foreground elements
- Large Apertures.
Adding foreground elements can frame your photo.

You can use anything as a foreground element:
- rocks
- Branches
- Water
- People
Anything you want to
This can narrow the focus on the paddler and add more interest than just the paddler alone.
Using large apertures creates a shallower depth of field, i.e. a smaller amount of your image is in focus.

This blur allows you to bring attention to the focal point of the image, the paddler.
Smaller apertures capture a greater depth of field and are used when you want the background in focus too.
Personally, I love a shallow depth of field, but it’s fun to play.
Look for Leading Lines

A way to level up your photo game is to look for Leading lines in your frame.
Leading lines are elements that help guide the eye through a photograph.
Often they start from the foreground and lead your eye to the subject.
This could be rocks on a river, tree branches or the river bank.
You, the viewer, will be drawn into the image.
Level horizon.

Small details can make a big difference,
When you are taking images you should be keeping the horizon level.
A wonky horizon can put the viewer off.
It just looks a bit odd.
But don’t worry too much because you can always fix this in post.
Just remember that if you do, your composition will change.
How to store your camera
Now you’re taking some banger kayaking photos and are an expert at whitewater kayaking photography, you’ll want to carry a camera with you at all times.
That means on the water.
When you first start, carrying your camera in a Kayak is terrifying.
Depending on what you are using, you could be carrying a couple thousand $$ worth of camera equipment.
Not sure about you but to me, that’s some scary shit…
Now my roll is pretty solid…
…but a camera between your legs sure does add some motivation to not swim
Start on easier rivers and build up to harder ones, when you get over the fear factor.
To carry your kayak you need a bomb-proof dry bag.
My favourite is the watershed. I trust that bag with everything.
I use the Occoe – it’s the ideal size for my DSLR and more importantly a few snacks.
I’ve taken everything from sleeping bags for multi-days to stuffing it full of a drone and a camera for some media.
You can get one here
(full transparency this is an affiliate link, if you do make a purchase we will get a small kickback at no cost to you – it helps support this newsletter but I wouldn’t recommend it if I didn’t back the product)
The only downside is that it isn’t a hard shell so I would recommend getting some foam to protect your camera.
Other Kayaking photographers use Pelicans or other hard cases – But they can be bulky and awkward to carry in a kayak.